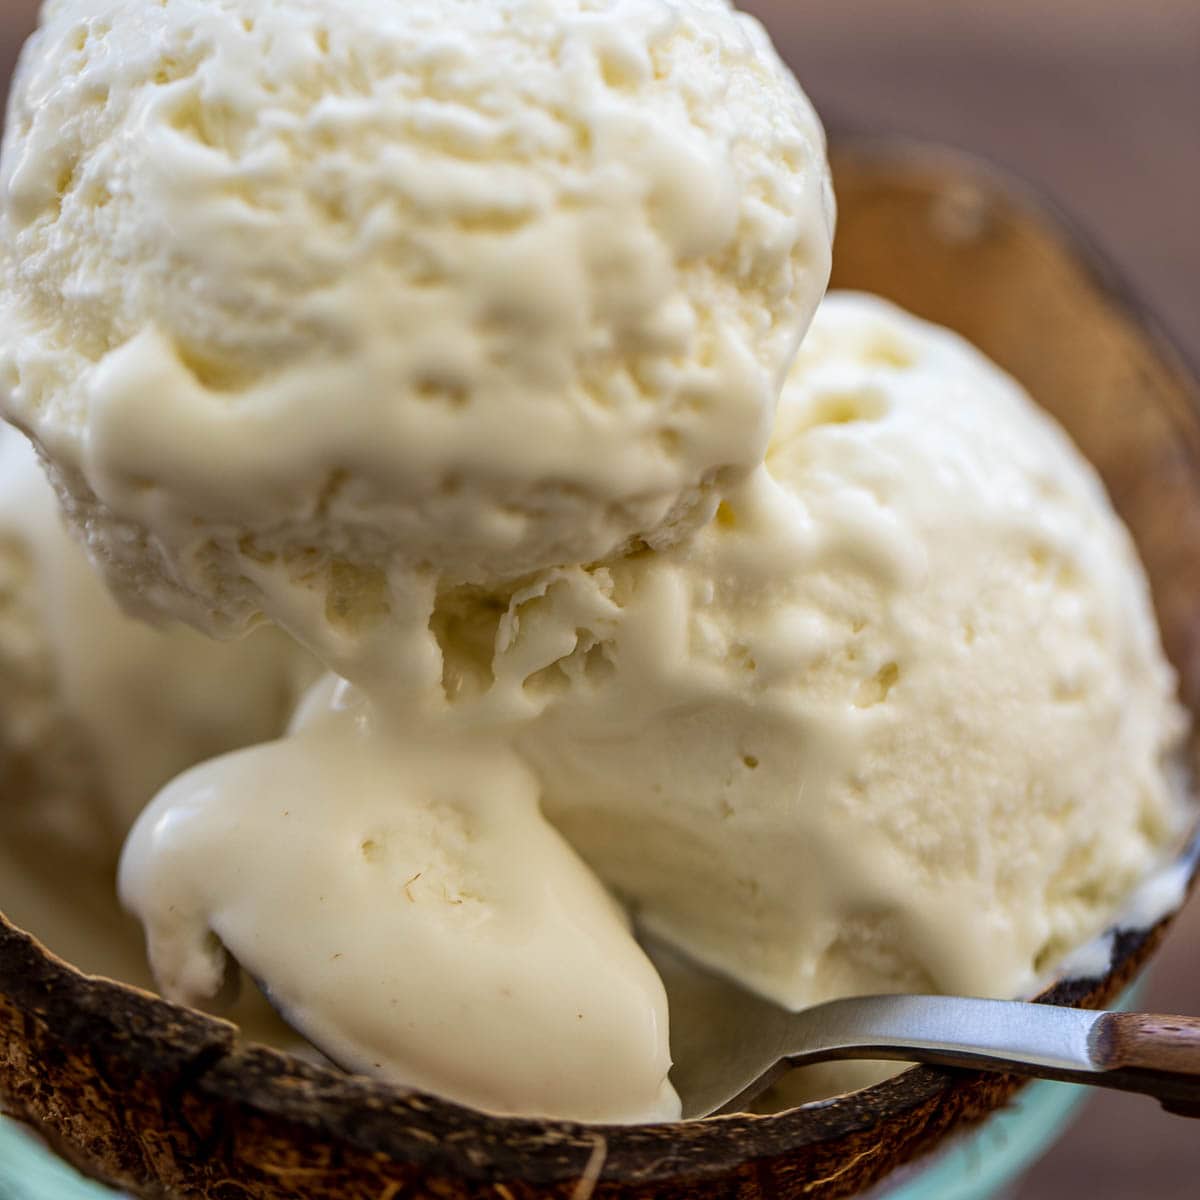
No Churn Coconut Ice Cream
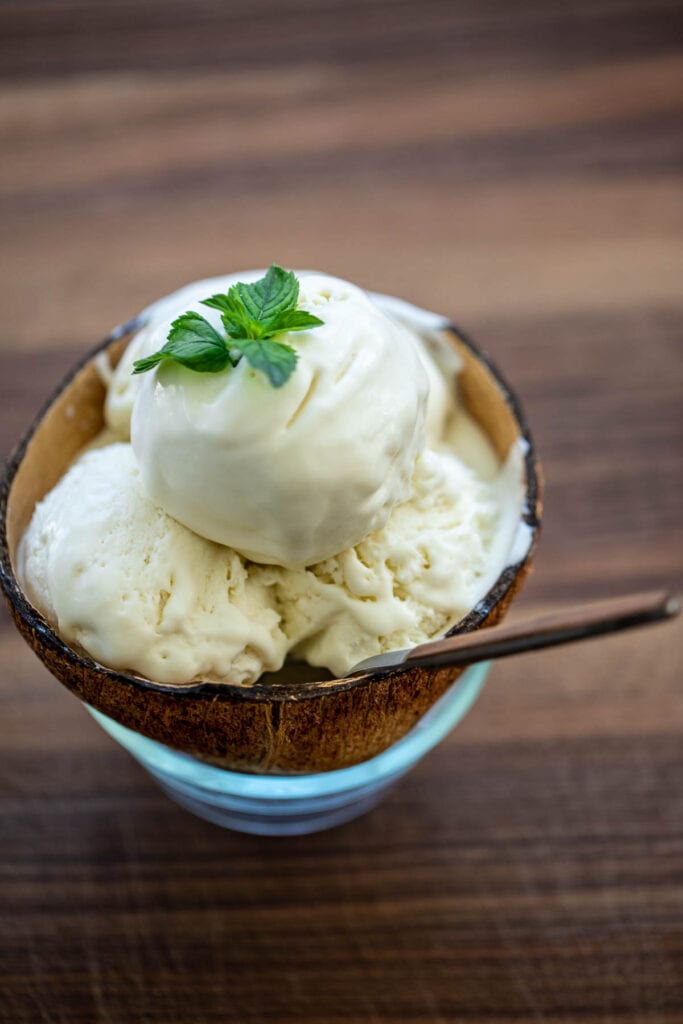
Do you want to know how to make Coconut Ice Cream that is perfectly creamy and does not require an ice cream machine? You are welcome! This No Churn Coconut Ice Cream is coconutty, ridiculously easy to make with just the right amount of sweetness!
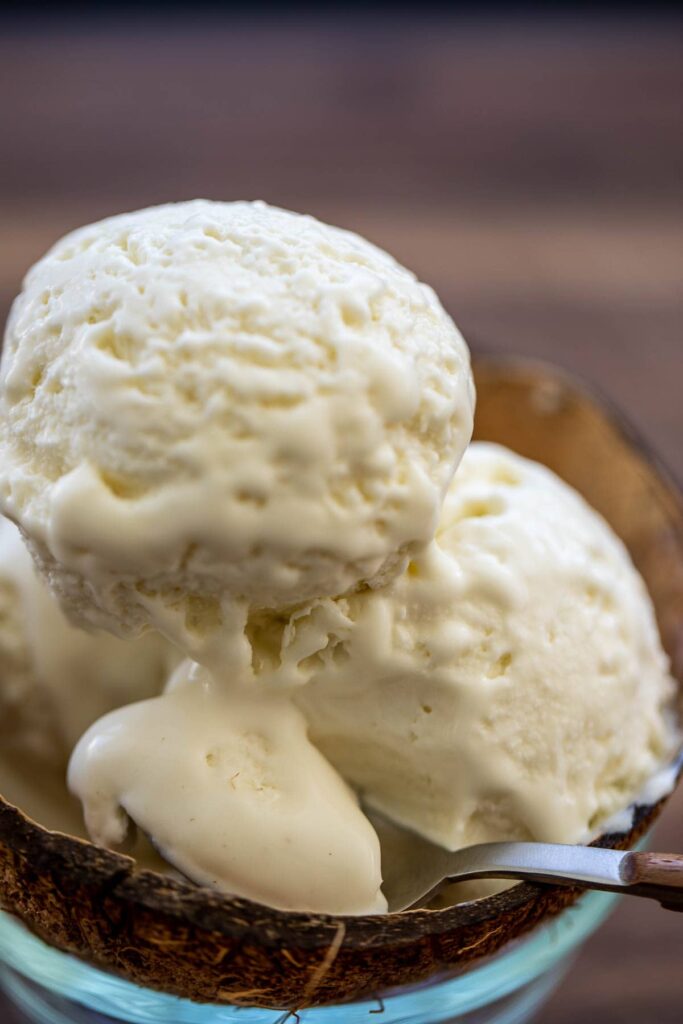
By the time I am done sharing ice cream recipes on here, we’ll all be ice cream gurus Who knows, maybe some of us might open ice cream shops.
Because, really, gone are the days when ice cream only had to made by cooking a custard and churning it in a machine.
Nowadays we do not need a machine to make vanilla, chocolate, strawberry, mango or coconut ice cream.
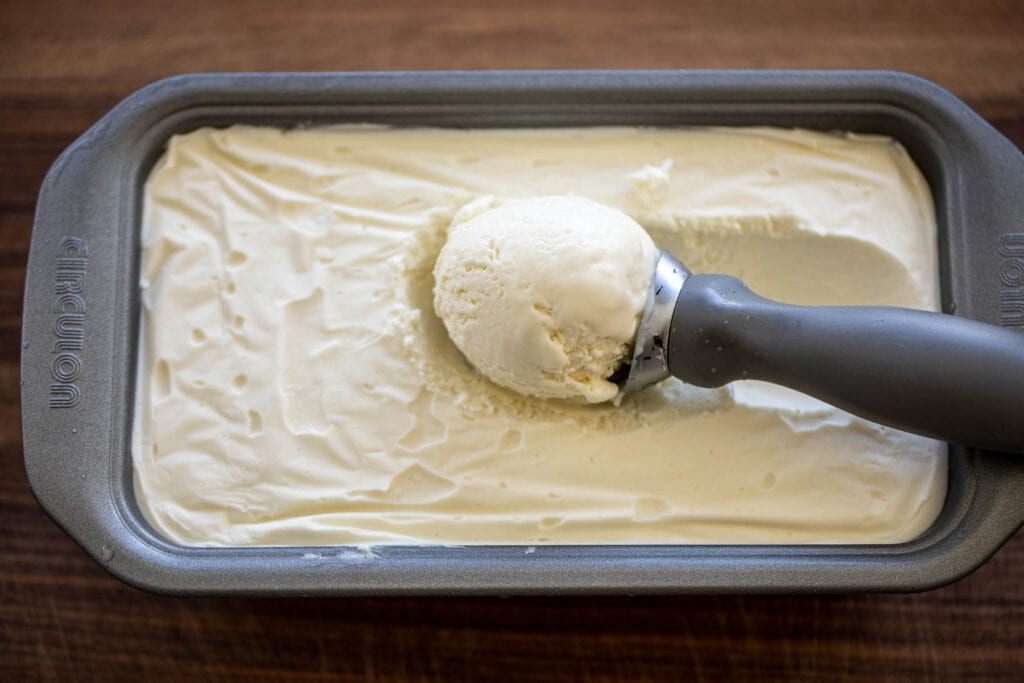
If you’ve never made one of these no-churn ice cream recipes, I hope you try this No Churn Coconut Ice Cream. It is life-changing! My oldest daughter says it’s the best ice cream flavor I have ever made!
Jump to:
The Ingredients
- Heavy Whipping Cream – an important base for most no churn ice cream recipes as it provides volume and creaminess. Can be found in the dairy section in grocery stores.
- Sweetened Condensed Milk – for sweetness and creaminess. Here is the sweetened condensed milk I used.
- Unsweetened Coconut Cream – for coconutty flavor and creaminess. Coconut cream is a kind of thick cream made from coconut milk and it is often sold in cans. Here is the unsweetened coconut cream used.
- Coconut Extract – to deepen the coconut flavor and drive home the point that this is coconut ice cream. Here is the coconut extract I use.
- Salt – a very important ingredient as a little salt helps to balance out the sweetness in desserts.
See the recipe card below for the quantities of each ingredient.
How To Make No Churn Coconut Ice Cream
- First whip cold heavy whipping cream until stiff peaks form.
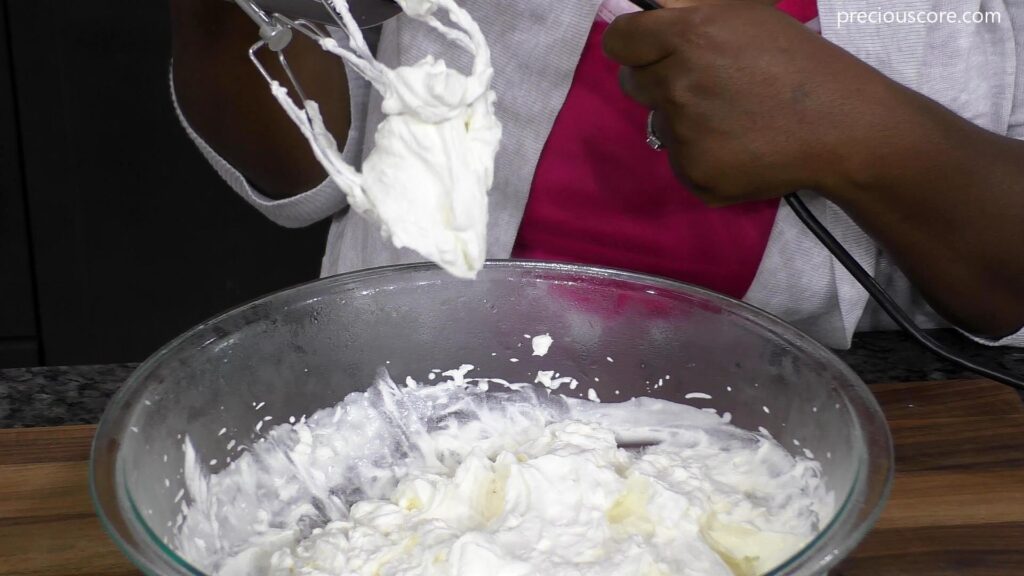
- Add in unsweetened coconut cream, sweetened condensed milk, coconut extract and salt.
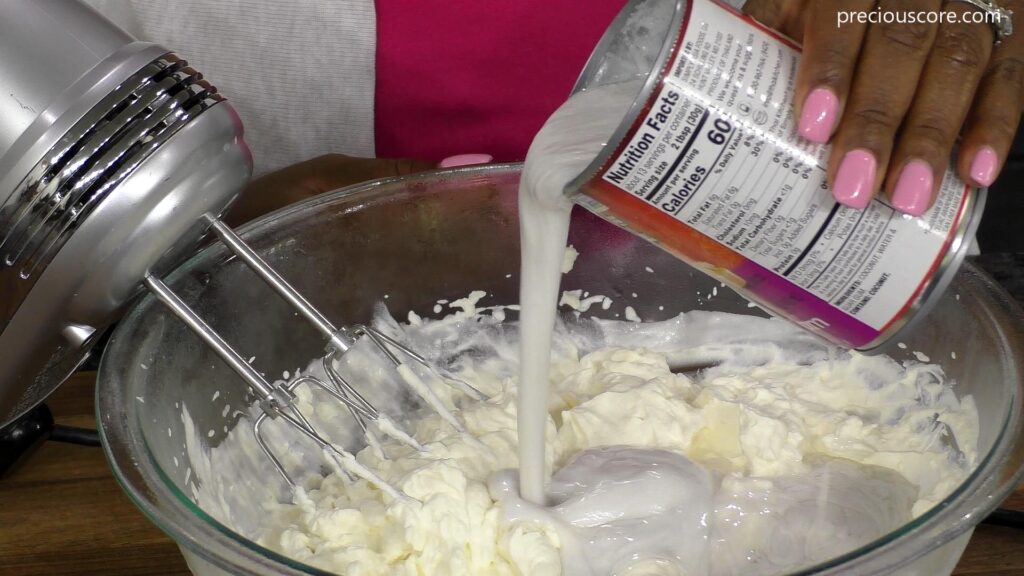
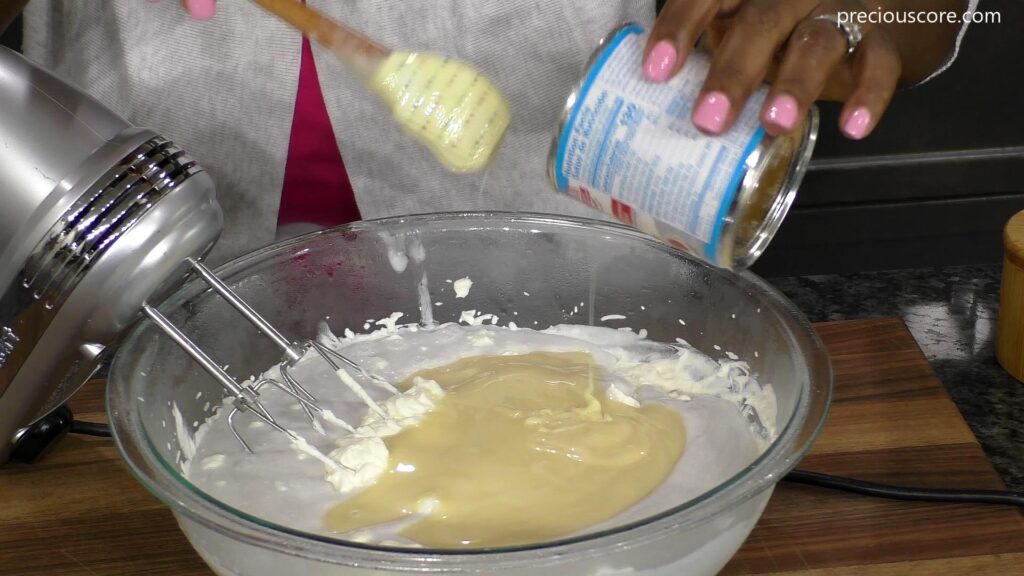
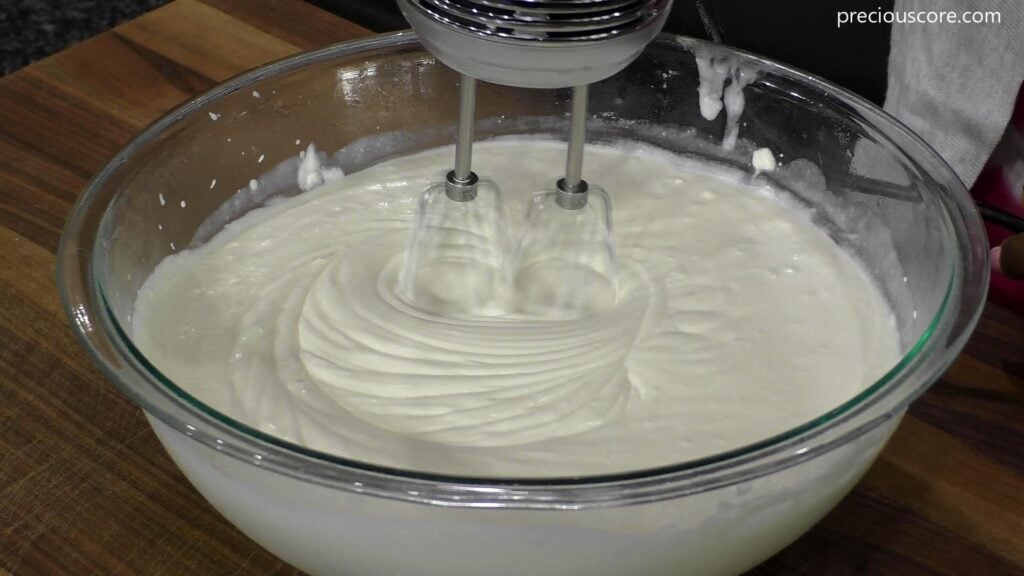
- Beat everything together until smooth.
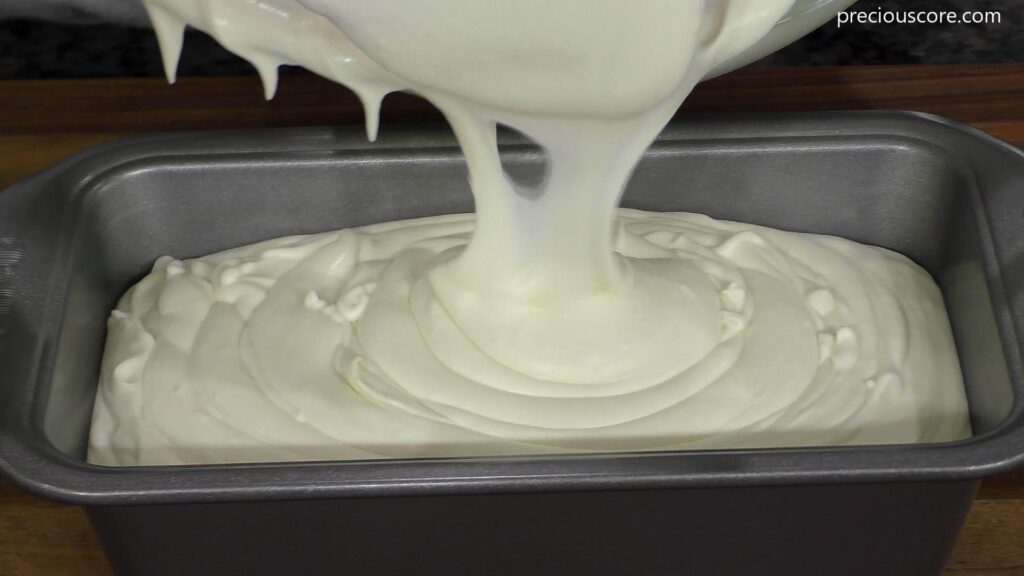
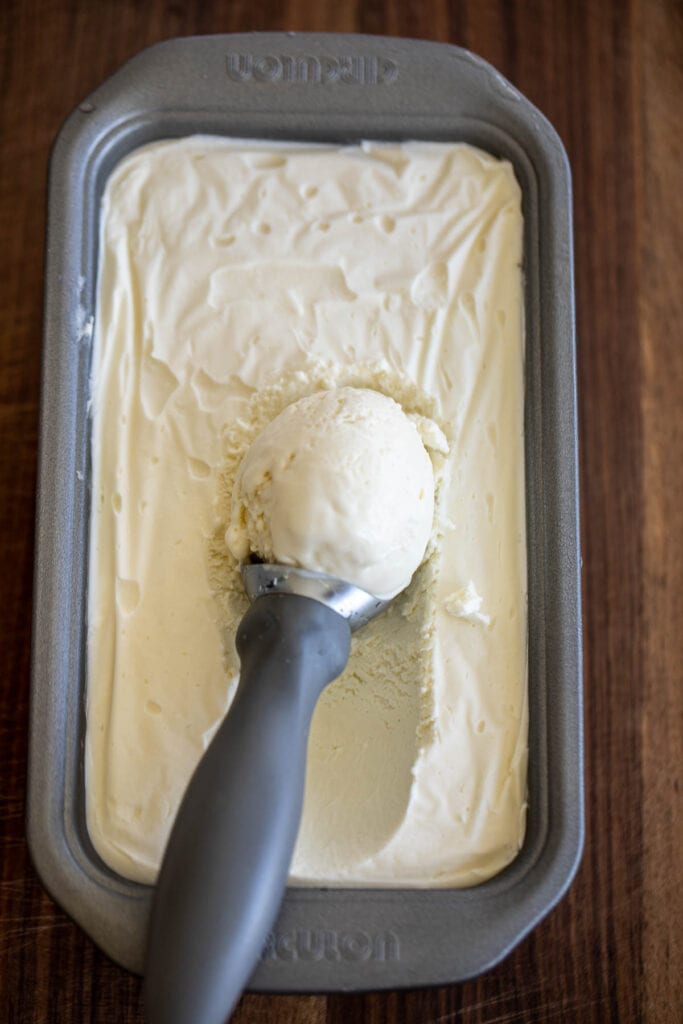
- Pour the mixture into a loaf pan or any freezer-safe bowl and freeze for 8 hours or over night.
Frequently Asked Questions
- What is heavy whipping cream and where can I find it? Heavy whipping cream is a dairy product that looks like milk but is thicker. You can find it in the dairy section of supermarkets. Other names for heavy whipping cream are heavy cream, double cream, or just cream.
- Must I freeze the ice cream in a loaf pan? No, you can freeze the ice cream in any bowl you have on hand as long as it’s safe to go into the freezer.
- How long can I keep this ice cream? Store homemade ice cream in the freezer for up to 2 months. Also, check out this guide about storing ice cream.
Variations
Take your No Churn Coconut Ice Cream to the next level by trying the following variations:
- Coconut Lime Ice Cream – add lime zest and lime juice to the ice cream mixture to make Coconut Lime Ice Cream
- Pina Colada Ice Cream – add a cup of pureed pineapple to the ice cream mixture to make Pina Colada Ice Cream.
- Coconut Chocolate Ice Cream – add a cup of chocolate spread to the bowl of ice cream just before freezing and swell it in. The combination of coconut and chocolate is to die for!
Also Check Out
Watch How To Make It
Here is a a video of me making No Churn Coconut Ice Cream. If you would love to keep up with my videos be sure to subscribe to my YouTube channel, Precious Kitchen.

No Churn Coconut Ice Cream
This no churn coconut Ice Cream is so creamy and very coconutty. It’s a tasty trip to the tropics.
Servings: 6 servings
Calories: 274kcal
Ingredients
- 2 cups heavy whipping cream cold
- 1 13 – 14 oz can coconut cream, unsweetened Mine was 13.something ounces
- 1 14 oz can sweetened condensed milk
- 1 ½ teaspoons coconut extract
- ⅛ teaspoon salt
Instructions
- Place an empty large mixing bowl into the freezer for about 30 minutes. Remove the bowl from the freezer and use to whip the cream. See Note 2 below.
- Pour the heavy whipping cream in to the cold mixing bowl. Beat on high speed using a hand-held electric beater or a stand-mixer until the cream thickens and stiff peaks form. Stiff peaks mean the cream stands up straight when the beaters are lifted.
- To the whipped cream add the unsweetened coconut cream, sweetened condensed milk, coconut extract, and salt. Beat everything together until smooth.
- Pour the mixture into a loaf pan, cover with plastic wrap ensuring that the plastic wrap touches the mixture and freeze for 8 hours or overnight. You can also freeze the ice cream in any freezer-safe bowl you have.
- Scoop and serve. If the ice cream is too hard when you take it out of the freezer, leave it on the countertop to soften for about 30 minutes or until it is scoopable then scoop and serve.
Notes
2. Putting the mixing bowl into the freezer before whipping the cream ensures that the cream whips perfectly to stiff peaks. This is especially useful in warmer weather where ingredients tend to lose their coldness faster.
3. Make sure you use unsweetened coconut cream as sweetened coconut cream will make the ice cream too sweet.
Nutrition
Calories: 274kcal | Carbohydrates: 3g | Protein: 2g | Fat: 29g | Saturated Fat: 18g | Polyunsaturated Fat: 1g | Monounsaturated Fat: 7g | Cholesterol: 90mg | Sodium: 70mg | Potassium: 78mg | Fiber: 0.003g | Sugar: 3g | Vitamin A: 1167IU | Vitamin C: 0.5mg | Calcium: 53mg | Iron: 0.1mg

